We're experts at shutter speak and we know this process can be a bit overwhelming. But we're here to guide you every step of the way. So let's start with basic shutter anatomy.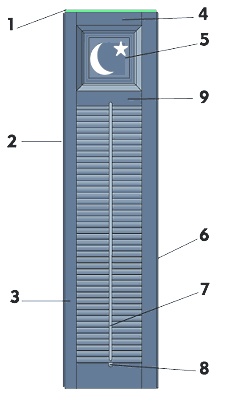
1. Shutter Capping: Prevents water from collecting on top of the shutter and seeping down into the joint. Historically, joints fail due to moisture, and our capping prevents this. You can choose Raw aluminum or Copper capping.
2. Overlap Rabbeting: Also known as "ship-lap," this feature provides an added degree of historical detail and makes the shutter fully functional, as the shutters overlap when closed.
3. Stile: The upright, vertical sections of a shutter. Stiles have rectangular openings (mortises) where the tenons of the rails fit.
4 Rail: The horizontal cross pieces of the shutter which determine a shutter's panel configuration, its look and its character. Each rail ends in a tenon that fits into an opening in the stile.
5. Decorative Cut Out: A distinctive design cut out into a panel to create an artful effect. Timberlane offers 100 standard templates or you can personalize a design all your own!
6. Beading Detail: A decorative touch incised down the back of the rabbeted stile to add character to the shutter.
7. Tilt-Rod: Used to move working louvers open or closed, the rod is primarily decorative on most shutters today.
8. Mouse Hole: The notch that houses the bottom of the tilt-rod when in a resting position.
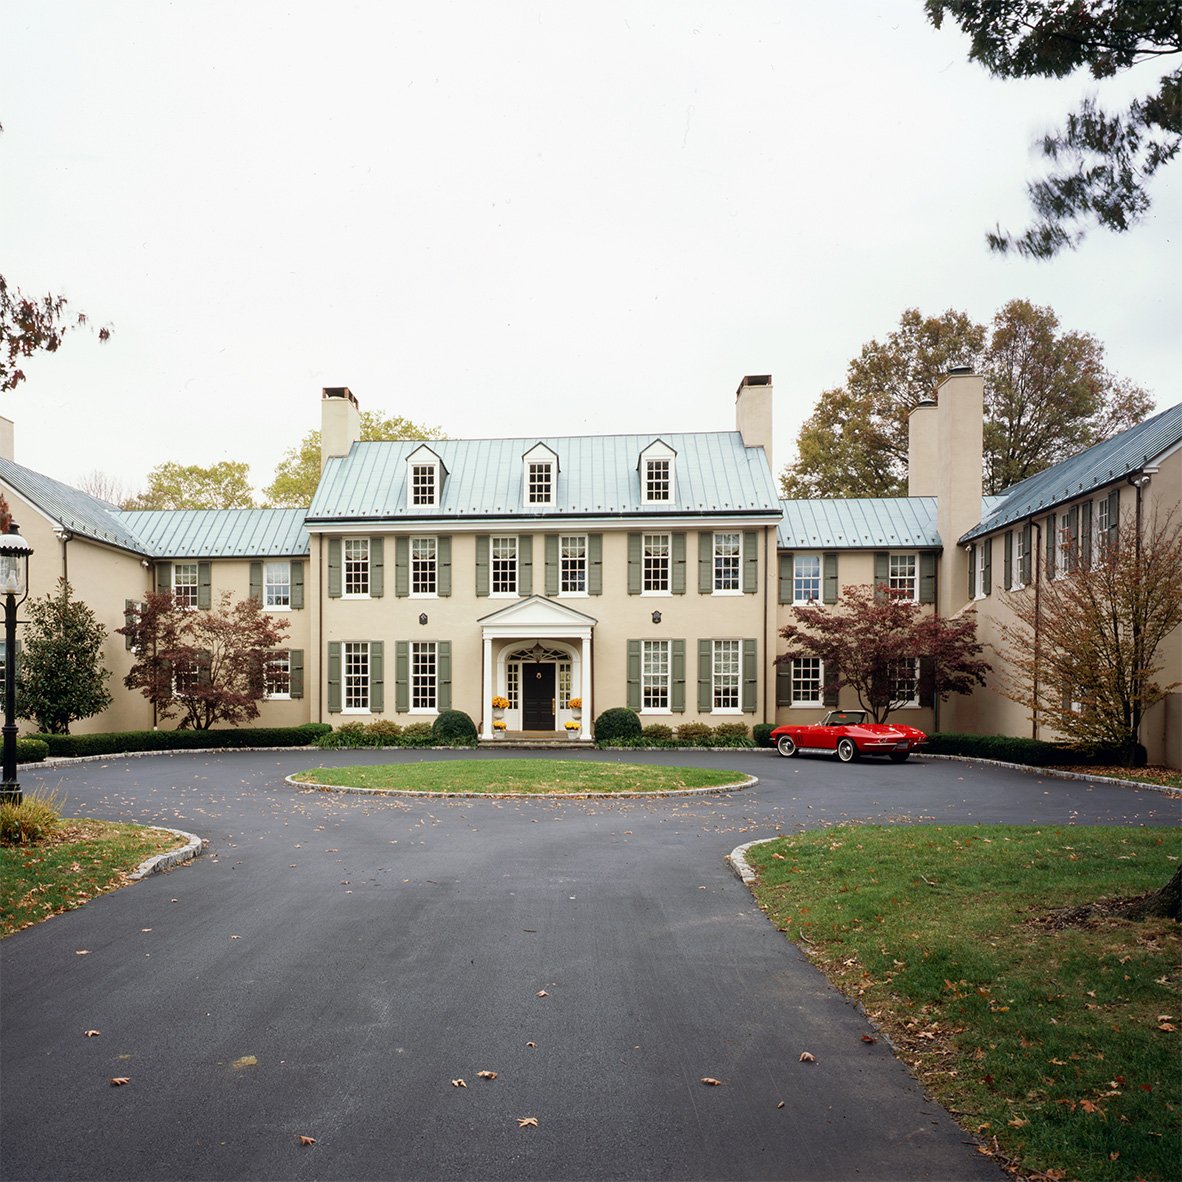
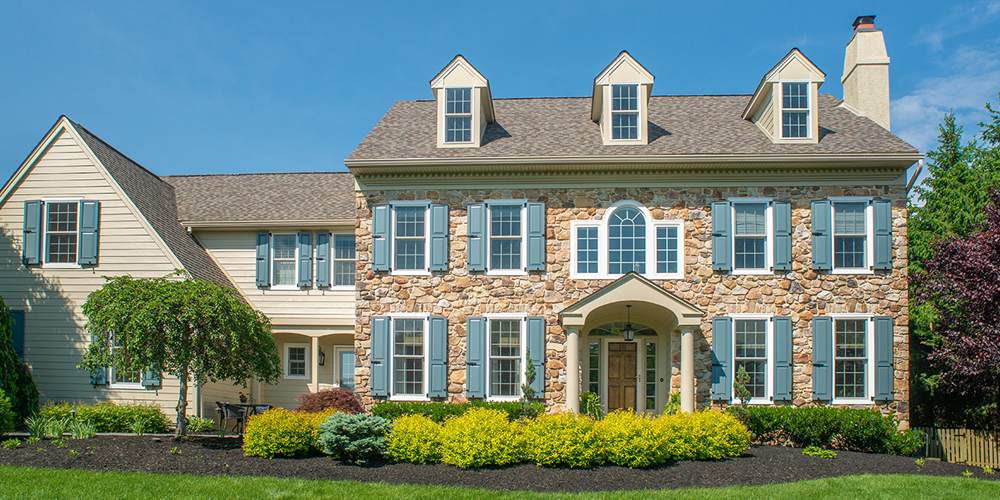
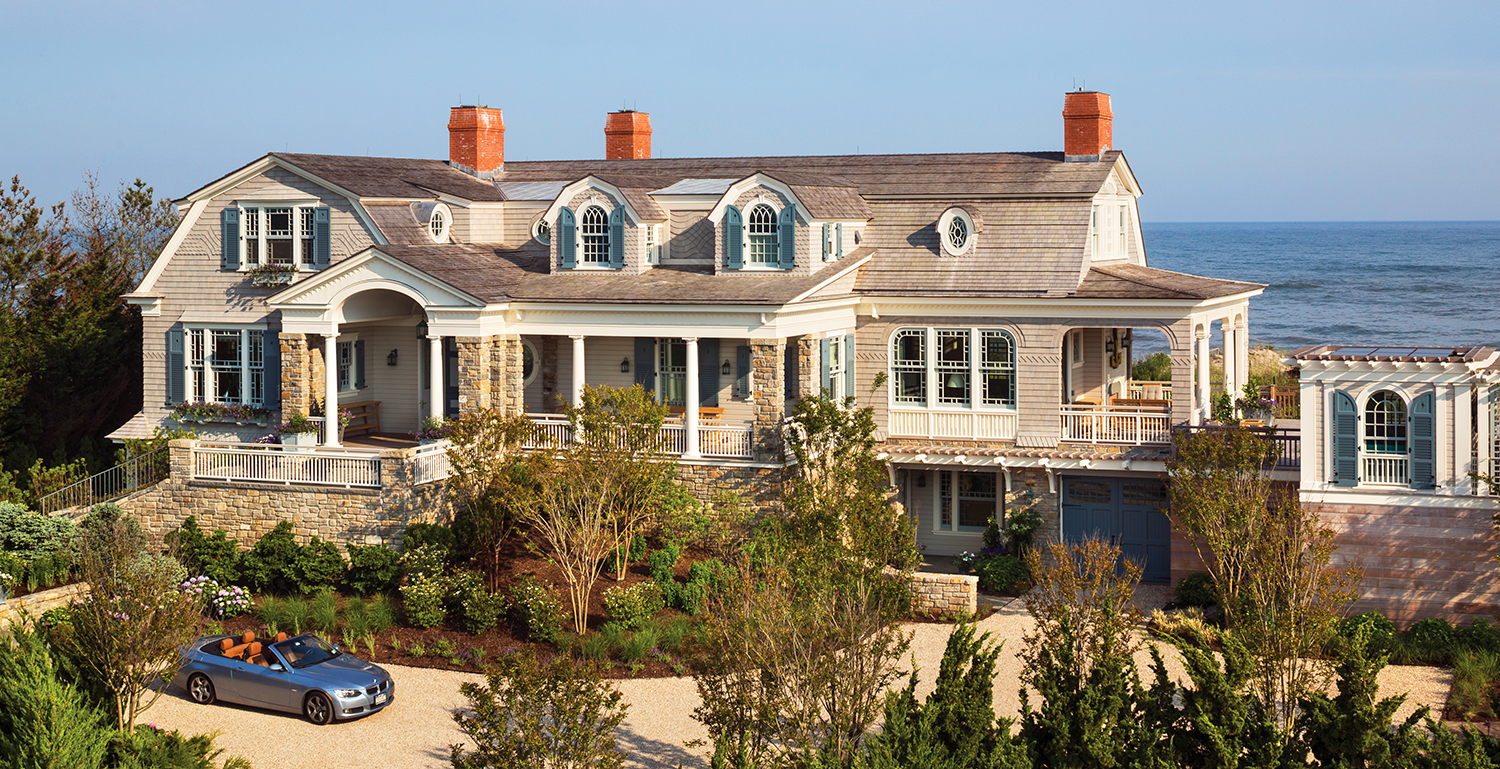
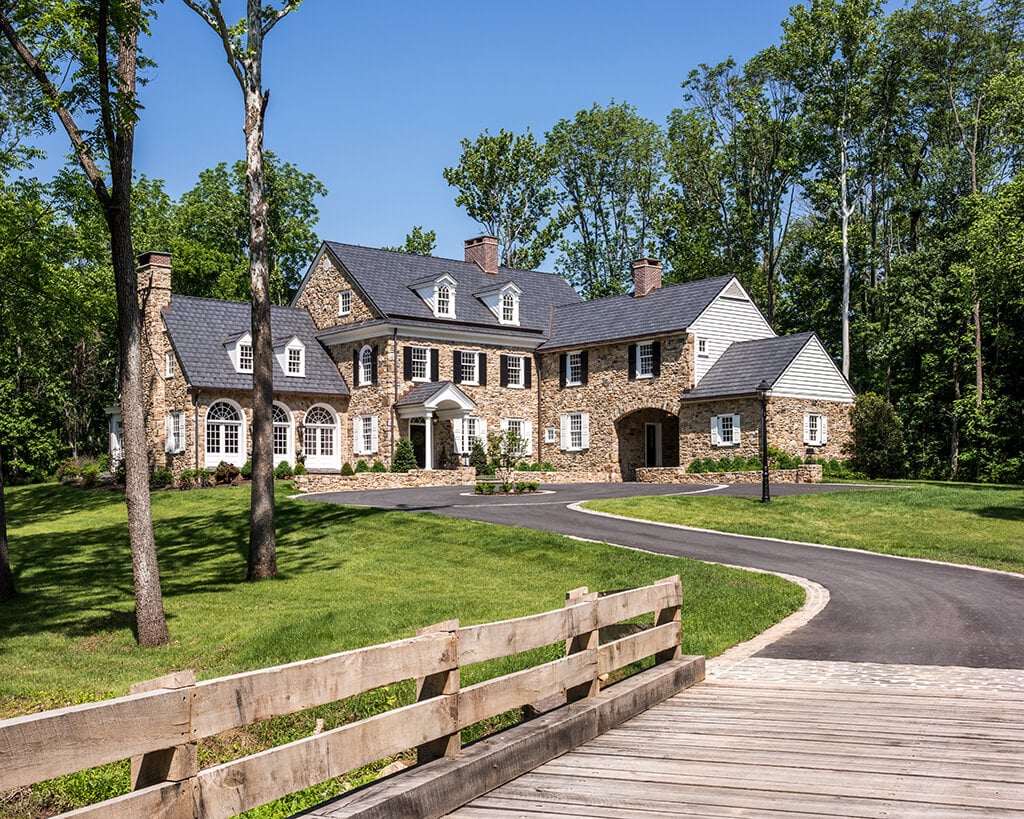
9. Panel Configurations: The placement of rails determines panel configurations and thus, the look and character of the shutters.
Now that you’re more informed, give one of our Shutter Experts a call and start planning your new custom shutters.