/10-tips-custom-home-exterior.jpg?width=600&height=363&name=10-tips-custom-home-exterior.jpg)
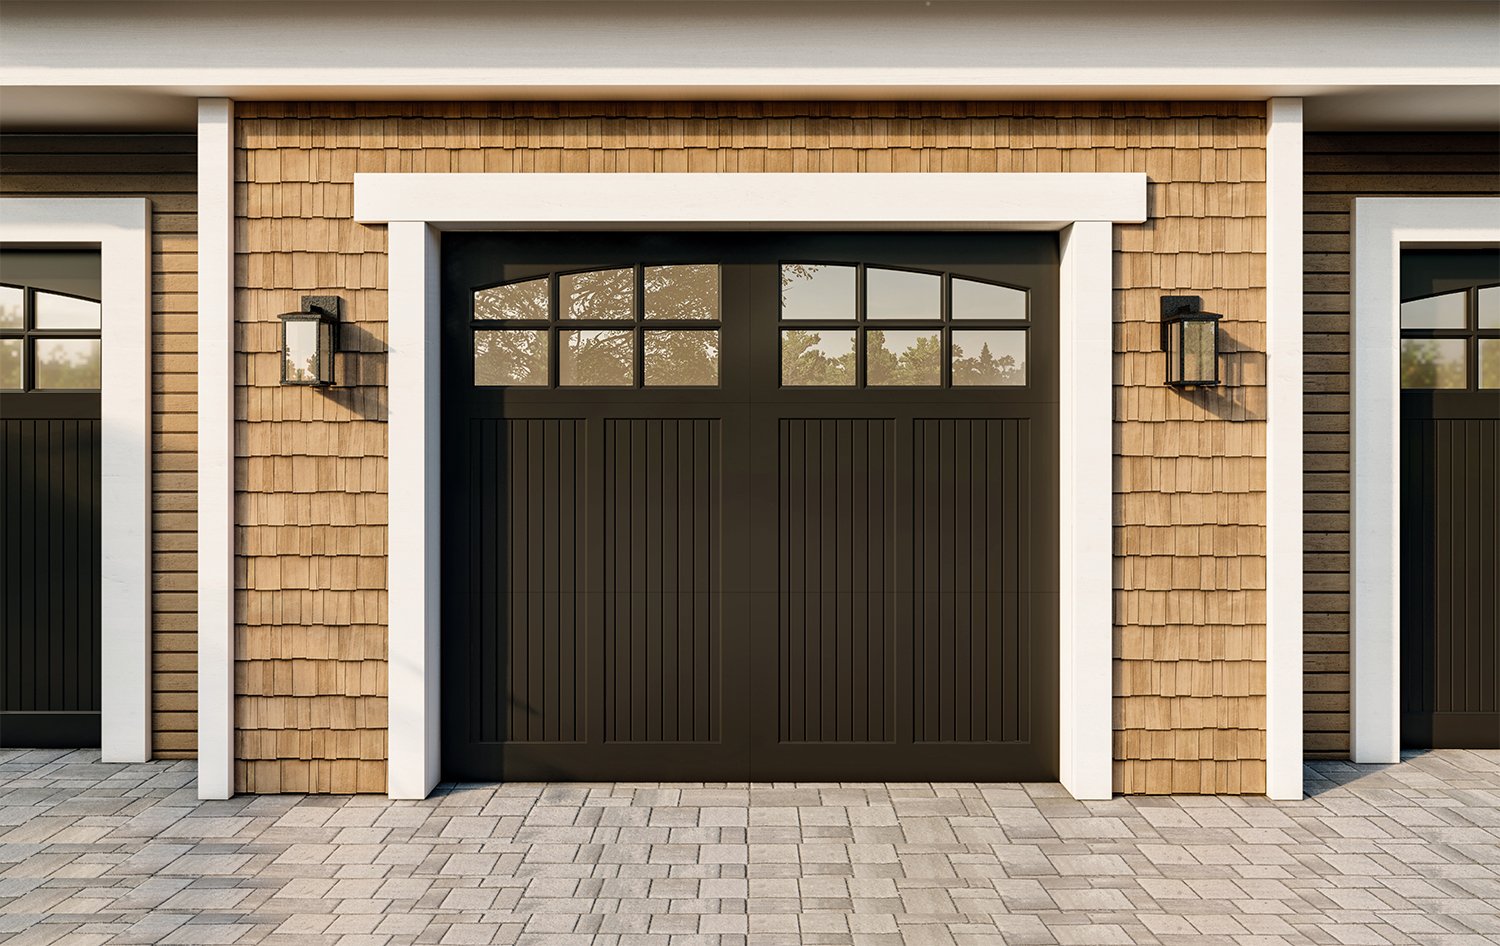
The addition and replacement of exterior shutters are popular do-it-yourself home improvement projects because new shutters provide instant curb appeal and their installation is straightforward.
Shutter installation does require the right tools and attention to detail, however. Poorly installed shutters that don’t align with their windows can disrupt a home’s aesthetic harmony, and they won’t open and close properly if the shutters are operable.
Following are some common shutter installation mistakes and how to avoid them.
Shutter Size Matters
First, remember that successful installation begins with correctly sized shutters. The placement of mis-sized shutters is perhaps the most widespread shutter installation error, and it can diminish a home’s curb appeal and impair shutter function.
Even standard window sizes have variances, and one of the advantages of custom shutters is their precise fit. If you’re considering new shutters, Timberlane offers several easy-to-follow resources to help you measure for shutters and their corresponding hardware.
Get in Line

Misaligned shutters is another common shutter installation mishap. It’s an easy mistake to make, but one that’s also simple to prevent.
Varying shutter styles and home exterior materials call for different connecting hardware, so see Timberlane’s shutter installation references for specific details. Generally speaking, perfect shutter positioning begins with the placement of attachment hardware such as mounts and hinges; measure accurately, and use a level and plumb line to ensure true vertical and horizontal alignment.
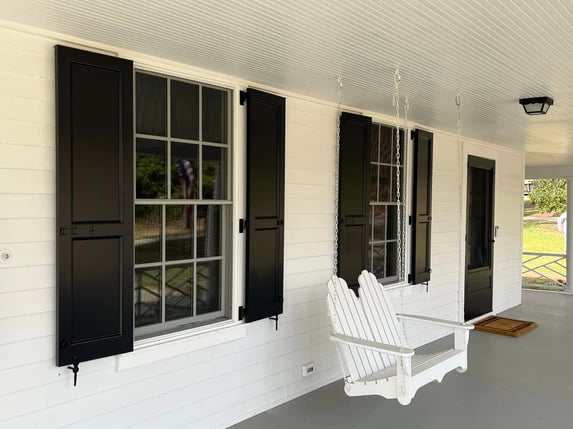
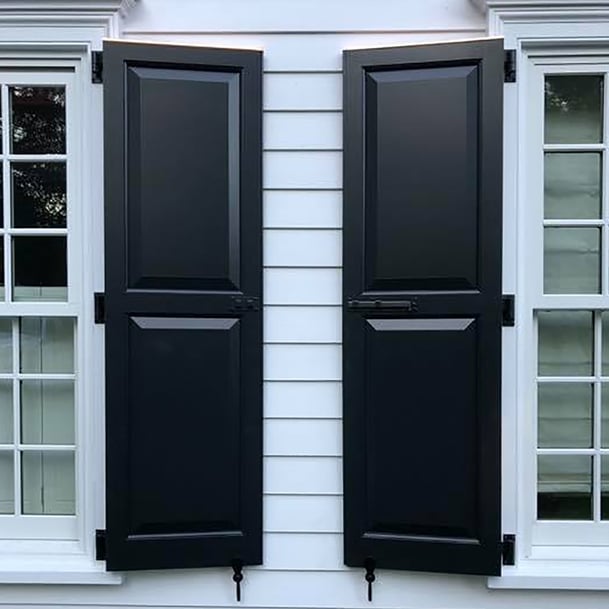
Check the shutters’ alignment again before fully securing the shutters to the home exterior or their according hardware. Decorative shutters should be placed adjacent to the outer edges of the window frames with the shutter tops and bottoms in alignment with tops and bottoms of the windows; the shutters should appear as if they would cover the windows if closed. If the shutters are operable, close them gently to check for a snug fit before completely securing the attaching hardware; the outer edges of the closed shutters should be flush with the window casements.
Dial Down the Louvers
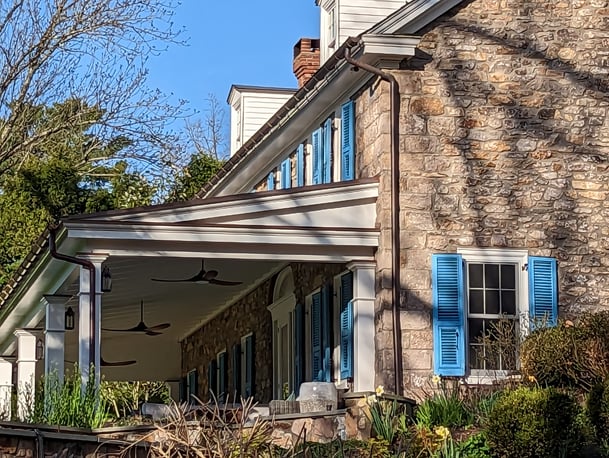
Louver shutters are popular as operable window coverings with functional slats and as window adornments with fixed louvers. When installing shutters with stationary louvers, many people become confused about which direction the louvers should face and inadvertently attach the shutters upside-down.
Fixed-louver shutters should be placed with the louvers pointing downward. This allows moisture to trickle off the shutters without accumulating in the indentations between the slats.
The School of Hardware Knocks
As mentioned earlier, shutter installation techniques and hardware differ depending on factors that include the shutter style, whether the shutters are operable and the exterior materials of the home. Using the wrong hardware to affix shutters can adversely impact their appearance, performance and longevity.
For example, brick exteriors necessitate different screw types and attaching hardware than wood exteriors. Similarly, Bermuda shutters, which are designed to open overhead, require different connective components than functional shutters that open horizontally.
On Location
Mounting hardware placement and orientation are also crucial to proper shutter installation. Poorly placed shutter mounts or the incorrect orientation of hinges or pintels can detract from the shutters’ appearance, hinder their performance if operable and lessen their lifespan.
Check your hardware positioning against the appropriate instructions for your shutter type and home material. Ensure all mounts, hinges, pintels, locks and tiebacks are correctly situated before securing them in place.
The Tiebacks that Bind
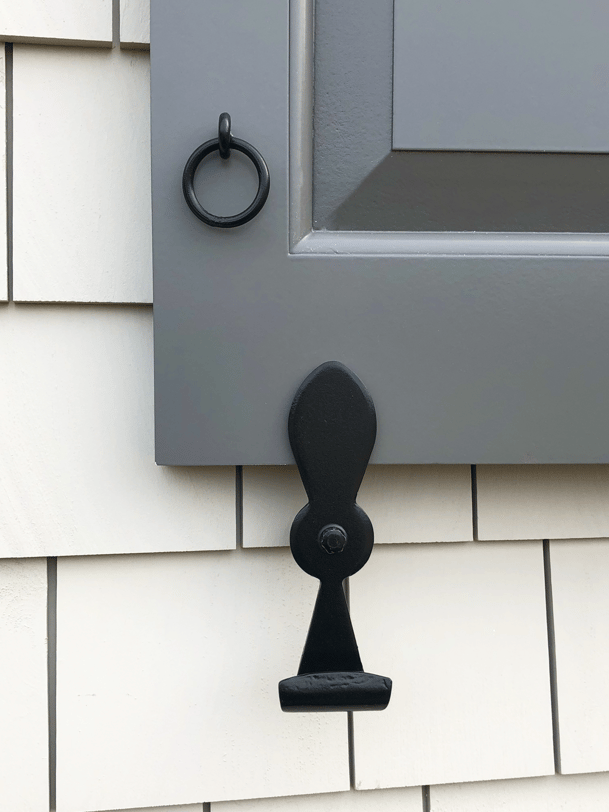
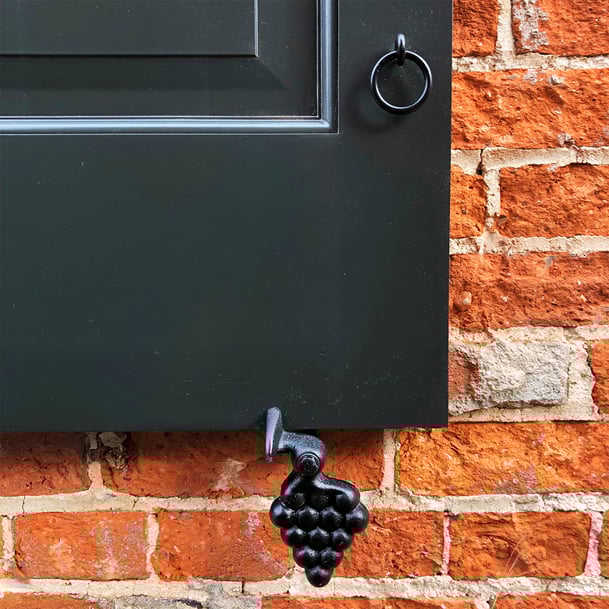
Speaking of hardware blunders, careless tieback placement is another common gaffe. Tiebacks — also known as shutter dogs and shutter catches — are optional hardware that feature decorative elements and can be used to help hold shutters in place.
While there is some flexibility with tieback positioning, they’re most effective when they’re installed along the lower edges of the shutters (as opposed to attached to the sides of shutters). The tiebacks should be mounted about 4 inches below the shutters’ bottom edges.
Timberlane: Elite Custom Shutters, Superior Customer Service

At Timberlane, our accomplished artisans and knowledgeable design team love working with homeowners and trade professionals to create shutters that complement their homes and reflect their unique personalities.
Whether you’re just beginning to consider shutter styles, preparing measurements for custom shutters, or in need of installation guidance, we’re here to help you through every step of the process. Get in touch with us today to learn more about your shutter personalization options or to request a quote.


black-louver-shutters-on-a-white-home-3.png)